How to Fix a Leaky Faucet: A Step-by-Step Guide
Learn how to diagnose and repair a leaky faucet with our comprehensive guide. Save money on plumbing bills with these DIY tips.

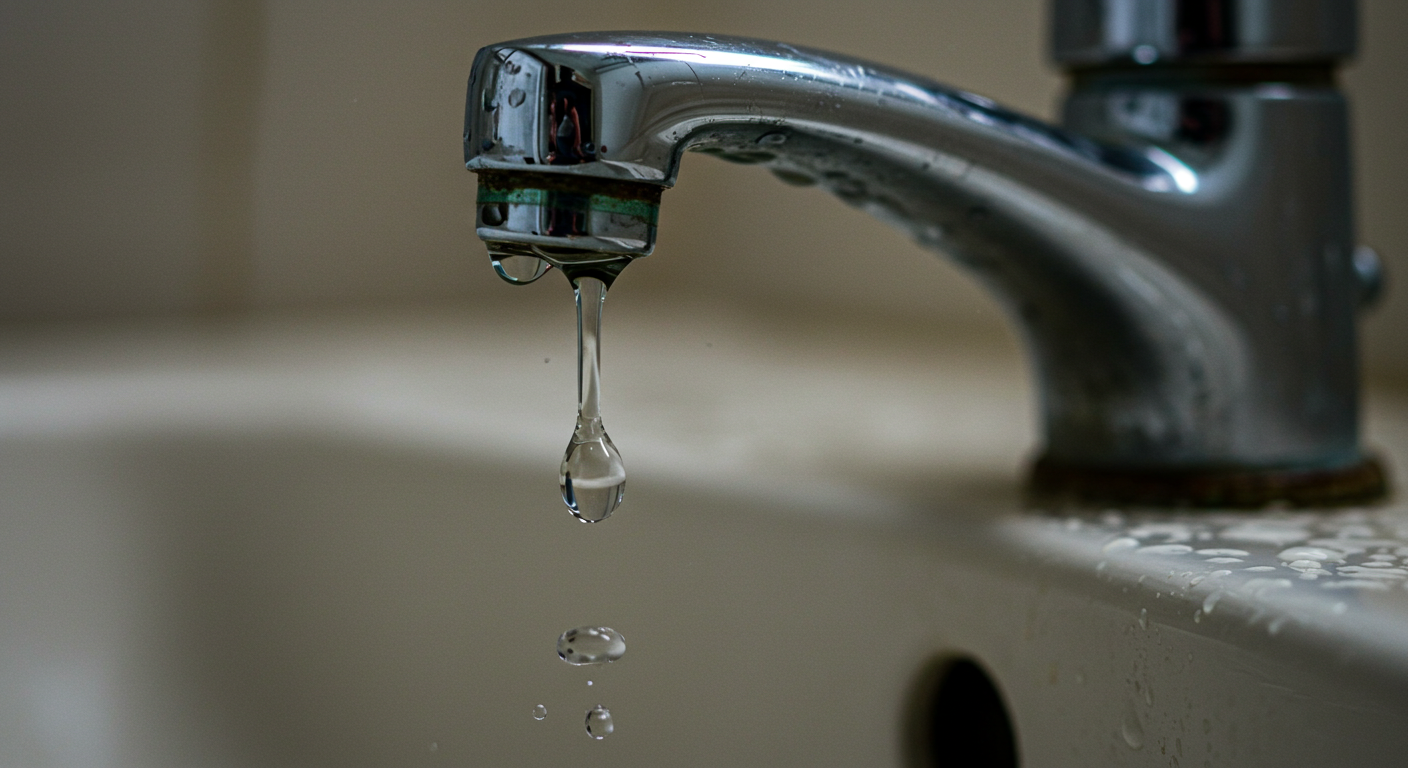
A leaky faucet might seem like a minor annoyance, but it can escalate into significant problems if left unchecked. Our expert plumbers at Plumbers Near Me are here to guide you through understanding and fixing this common household issue.
Did you know? The Environmental Protection Agency estimates that a faucet dripping just 10 times per minute can waste over 300 gallons of water annually. That's not just bad for the environment – it's rough on your wallet too!
Before reaching for your phone to call a plumber, you might want to try fixing the issue yourself. Here's what you need to know:
What Usually Makes a Faucet Leak?
Most faucet leaks can be traced back to worn-out or damaged components, including:
- Washers: These are the crucial rings that create a seal against the valve seat
- O-rings: Small but mighty rubber rings that seal the connection between the handle and valve
- Valve seats: The surface where the faucet valve rests (prone to corrosion with time)
- Cartridges: When these become loose or worn, leaks are inevitable
Sometimes, the culprit might be something more complex like excessive water pressure, damaged pipes, poor installation, or mineral buildup from hard water. These situations typically require professional intervention.
Essential Tools for DIY Faucet Repair
- Various screwdrivers
- Standard wrench
- Quality pliers
- New O-rings and washers
- Adjustable wrench
- Hex key set
- Complete faucet repair kit
- O-ring removal tool
- Assorted washers
Step-by-Step DIY Faucet Repair Guide
If you're handy with tools, here's how to tackle that leak:
Step 1: Water Supply Shutdown
First things first – avoid a mini flood in your bathroom! Turn off the water supply completely before starting any repair work. Look for the shutoff valves under your sink. If they're stuck, don't force them – that's when you might need professional help.
Step 2: Component Inspection and Replacement
Start with the Aerator
A dirty aerator often causes drips. Unscrew it, clean out any debris, and make sure it's properly tightened when you put it back. Sometimes this simple fix is all you need.
Washer and Seal Check
The washer's job is to create a watertight seal when you turn off the faucet. If it's not sitting perfectly or has warped, you'll get drips. Take the old washer to your local hardware store to ensure you get an exact match – and make sure it's rated for both hot and cold water.
O-Ring Replacement
If water's leaking around the handle, the O-ring is usually the culprit. These little rubber rings create crucial seals in both cartridge and compression faucets. When replacing them, size matters – bring the old one along for comparison.
Cartridge Solutions
Cartridge faucets are known for their smooth operation. When they start leaking, replacing the entire cartridge (usually $10-15) often solves the problem. It's a straightforward fix that most homeowners can handle.
When to Get a New Faucet
If you've tried these fixes and still have issues, it might be time for an upgrade. Modern faucets offer great features like touchless operation, and they're built to last longer than older models.
When to Call Professional Plumbers
Sometimes, what seems like a simple leak can signal bigger plumbing problems. If you're not confident in your DIY skills or if basic repairs aren't solving the issue, don't hesitate to call us at Plumbers Near Me. Our experienced team is ready to tackle any faucet repair challenge and ensure your plumbing system stays in top shape.
For more detailed information about water conservation, visit EPA Water Sense.